Corsair Cove Campaign Story Paths Guide: Skull Mountain Secrets & Best Choices (2026)
When I first launched Corsair Cove, I expected another charming colony builder with pirates, rum, and the usual resource management loop. A few hours later I realized I had completely underestimated it. Beneath its colorful visuals hides a surprisingly deep strategy game where nearly every important decision changes the direction of your campaign.
I’ve spent enough time experimenting with different settlements to realize that there isn’t a single “correct” way to play. Every campaign develops differently depending on your priorities, and that’s exactly what keeps pulling me back for another run. Some players will build a peaceful trading paradise, while others will terrorize every ship that sails nearby. Then there’s the mysterious side of the game that many newcomers completely miss.
If you’re trying to make smart decisions from the beginning instead of fixing expensive mistakes later, here’s everything I learned after exploring every major campaign route and uncovering the biggest secrets hidden beneath Skull Mountain.
Why Your Story Choices Actually Matter
Unlike many city-building games where the ending barely changes, Corsair Cove constantly reacts to your long-term decisions. Your economy, diplomacy, military investments, and exploration habits gradually push the campaign toward completely different outcomes.
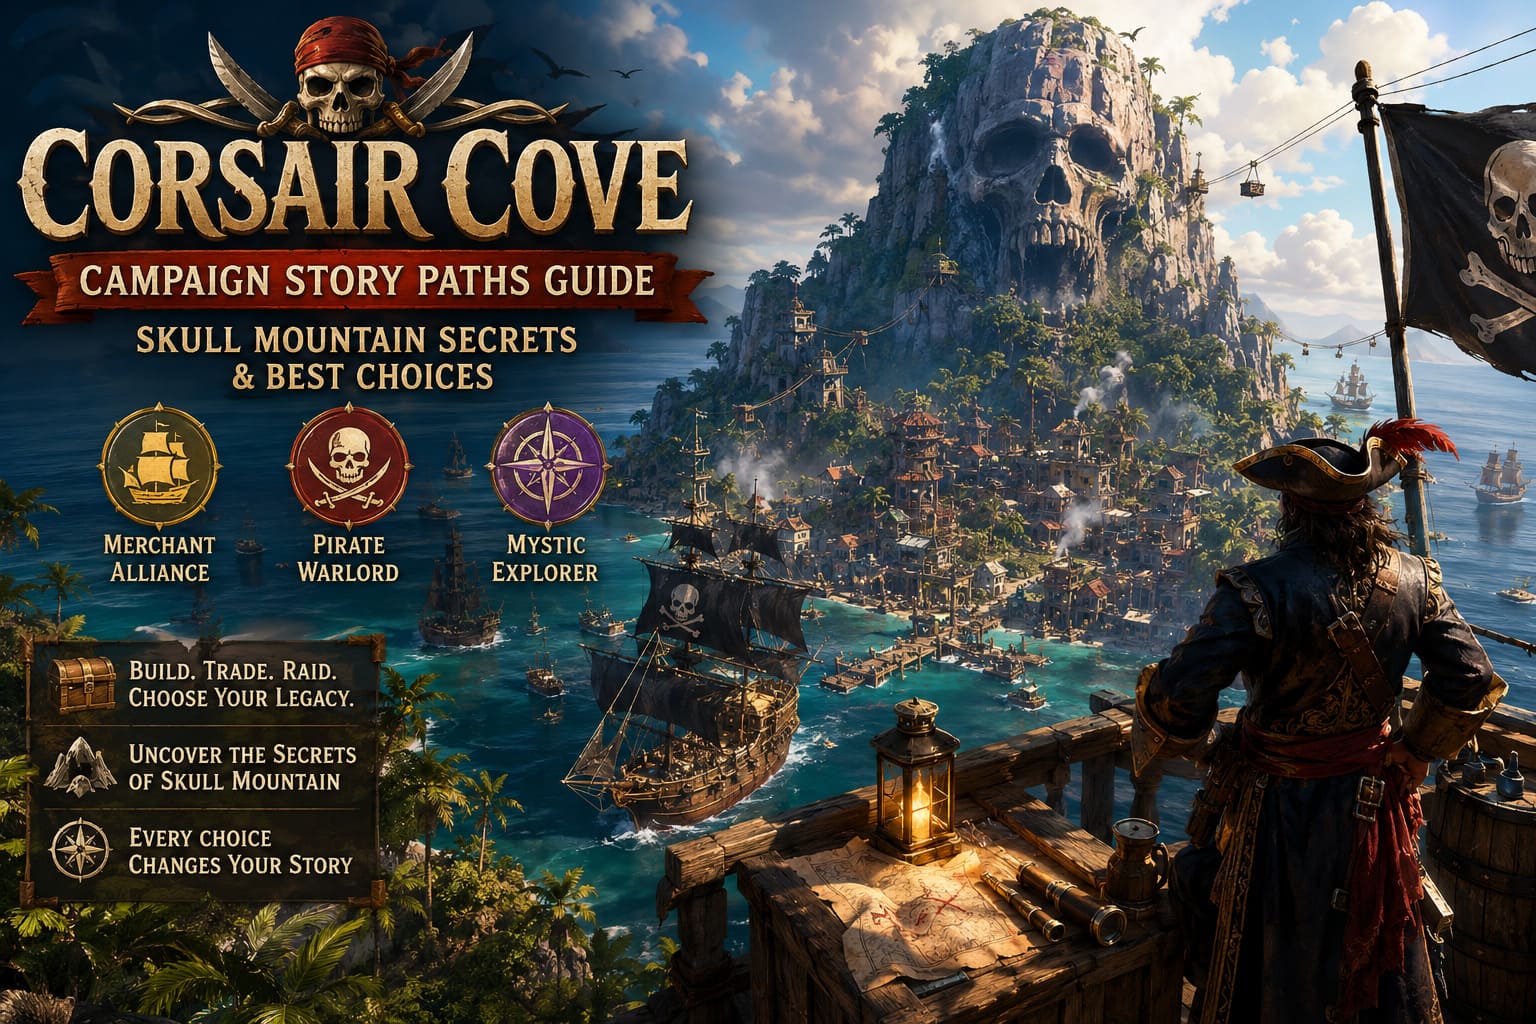
What impressed me most is that these paths don’t simply swap dialogue. Your colony changes visually, your priorities evolve, and even Skull Mountain serves a different purpose depending on how you’ve been playing.
If you constantly switch directions halfway through a campaign, you’ll usually slow your own progress. Picking an identity early makes the entire settlement much easier to manage.
| Campaign Path | Main Focus | Difficulty | Best For |
|---|---|---|---|
| Merchant Alliance | Economy & Trade | Medium | Players who enjoy optimization |
| Pirate Warlord | Combat & Fleet Expansion | Hard | Aggressive players |
| Mystic Explorer | Relics & Ancient Powers | Hard | Exploration lovers |
The Merchant Route Is Better Than It Looks
At first I ignored the peaceful economic path because I assumed it would become boring. I couldn’t have been more wrong.
Building a successful trade empire requires surprisingly careful planning. Every warehouse, dock, workshop, and farm needs to support the next production chain. Once everything starts flowing smoothly, your income grows at an incredible pace without constantly risking expensive naval battles.
The biggest advantage is consistency. Instead of repairing damaged ships after every raid, you’re continuously expanding infrastructure while trade ships keep bringing valuable resources into your colony.
Skull Mountain also becomes much safer during this campaign. Rather than turning it into a military fortress, you’ll slowly convert its interior into a profitable mining operation.
For players who enjoy efficient logistics, this is probably the strongest long-term campaign.
The Pirate Warlord Campaign Delivers Pure Chaos
If your idea of fun is sinking enemy ships before breakfast, this route never disappoints.
The entire economy shifts toward military production. Cannons become more valuable than decorations, shipyards expand constantly, and every successful raid feels like a major victory.
That said, this campaign punishes mistakes much harder.
Losing several expensive ships early can cripple your economy, especially if you invested too heavily in military construction while neglecting food production. I learned this the hard way during one of my first campaigns when my fleet dominated the ocean but my own colony nearly starved.
The fortress aesthetic also looks fantastic. By the late game, your peaceful island transforms into an intimidating pirate capital covered in defensive walls, artillery positions, and crowded taverns.
The Hidden Mystic Campaign Is Easily the Most Interesting
This was the campaign that completely surprised me.
Instead of focusing purely on economics or warfare, the game slowly introduces mysterious ruins, forgotten relics, supernatural events, and strange characters whose conversations suddenly become much more important.
Exploration matters far more here than raw production.
You aren’t simply collecting rare resources—you are uncovering the island’s forgotten history.
Managing your crew also becomes significantly more complicated because supernatural corruption introduces entirely new problems that don’t exist in the other campaigns.
I wouldn’t recommend this route for a first playthrough, but it’s absolutely worth experiencing once you’ve learned the game’s core mechanics.
Skull Mountain Is the Center of Everything
No matter which campaign you choose, eventually every road leads toward Skull Mountain.
From my experience, rushing inside too early is one of the biggest mistakes beginners make.
Before sending workers into the mountain, I always make sure my colony has stable food production, reliable construction materials, and enough workers to replace anyone injured during mining operations.
The mountain isn’t simply another resource zone—it feels like an entirely separate progression system.
Build the Zipline Network First
This might not sound exciting, but it completely changes your efficiency.
Once the upgraded zipline system connects the mountain with your industrial district, transporting heavy ore becomes dramatically faster.
I also noticed morale improves because pirates spend less time walking across steep terrain and more time actually working.
It’s one of those upgrades that quietly boosts almost every part of your economy.
How I Solved the Ancient Totem Puzzle
Deep inside the mountain you’ll eventually discover an abandoned ruin protected by three rotating stone monuments.
The puzzle isn’t especially difficult once you understand its symbolism.

- Leviathan should face the eastern sea.
- Eclipse belongs toward the darkest section of the cavern.
- Crown must point directly toward the central altar.
After aligning the monuments correctly, hidden passages open beneath the ruins, revealing some of the richest mining locations available in the campaign.
Reaching this area felt like a genuine reward instead of simply unlocking another resource node.
Mining Deep Levels Isn’t as Safe as It Looks
Once valuable iron and gemstone deposits become available, it’s tempting to send every available worker underground.
Don’t.
The deeper sections introduce dangerous hazards that can quickly destroy productivity if you ignore them.

| Hazard | Problem | Recommended Solution |
|---|---|---|
| Toxic Gas | Worker injuries | Research ventilation technology |
| Cave Collapse | Production shutdown | Install structural supports |
| Long Transport Routes | Slow logistics | Expand zipline connections |
| Worker Fatigue | Lower efficiency | Improve nearby facilities |
These upgrades may seem expensive early on, but they’re far cheaper than constantly replacing injured workers and rebuilding damaged tunnels.
Three Tips That Made My Campaigns Much Easier
- Balance production instead of overbuilding. Every unnecessary workshop consumes workers that could be supporting more profitable industries.
- Always pin your current objectives. It’s surprisingly easy to become distracted by side projects while forgetting important campaign milestones.
- Upgrade your fleet before you think you need it. Mid-game naval encounters become noticeably tougher, and outdated ships quickly become expensive liabilities.
These aren’t flashy strategies, but they’ve consistently produced smoother campaigns regardless of which narrative path I decided to follow.
Corsair Cove Progression Guide: All 4 Compass Paths Explained
Which Story Path Would I Choose Again?
After completing multiple campaigns, I still think the Merchant route offers the strongest overall experience for most players because it teaches the game’s economic systems while remaining flexible enough to adapt later.
However, the Mystic campaign became my personal favorite simply because it made the island feel mysterious. Every expedition revealed something unexpected, and Skull Mountain slowly transformed from a mining location into one of the most memorable areas in the entire game.
The Pirate Warlord campaign deserves plenty of praise too, especially if your favorite moments involve commanding powerful fleets and dominating the surrounding seas, but it definitely demands better planning than the other routes.
Is Corsair Cove Coming to PS5? PC Game Pass Day One Release Explained
Final Thoughts
Corsair Cove succeeds because it never feels like you’re following a scripted checklist. Every colony gradually develops its own personality, and every campaign tells a different story based on your priorities. One settlement may become a wealthy commercial paradise filled with merchants, while another evolves into a feared pirate kingdom that controls every nearby shipping lane. Others will chase ancient mysteries hidden beneath Skull Mountain until the campaign reaches one of its most fascinating endings.
For me, that’s where Corsair Cove stands out from many modern management games. The resource systems are satisfying, the branching storylines encourage multiple playthroughs, and Skull Mountain remains an exciting destination long after the early game ends. Whether you’re chasing maximum efficiency, building the strongest fleet on the ocean, or searching for forgotten secrets buried beneath ancient stone, the island always rewards curiosity—and that’s exactly why I keep coming back for one more campaign.