The Division Resurgence Best Armor Attributes: Complete Gear Rolling Guide
When I first jumped into The Division Resurgence, I honestly expected a streamlined mobile adaptation that would sacrifice depth for accessibility. Instead, after spending countless hours clearing missions, experimenting with different loadouts, and farming endgame content, I realized that the game offers far more build customization than many players expect. One lesson became obvious very quickly: weapons may grab all the attention, but your armor attributes are what truly determine whether your build performs at a high level.
I’ve spent plenty of time testing assault rifle builds, sniper-focused setups, heavy armor combinations, and skill-oriented support characters. Throughout all those experiments, one thing remained consistent. Players who carefully optimize their armor almost always outperform players who simply equip higher Gear Score items without paying attention to their attributes.
This guide isn’t just another collection of recommended stats copied from spreadsheets. These are the priorities I’ve personally settled on after trying numerous builds and adapting them for both solo and cooperative content. If you’re planning to spend valuable recalibration materials, these are the armor attributes that deserve your attention.
Why Armor Attributes Matter More Than You Think
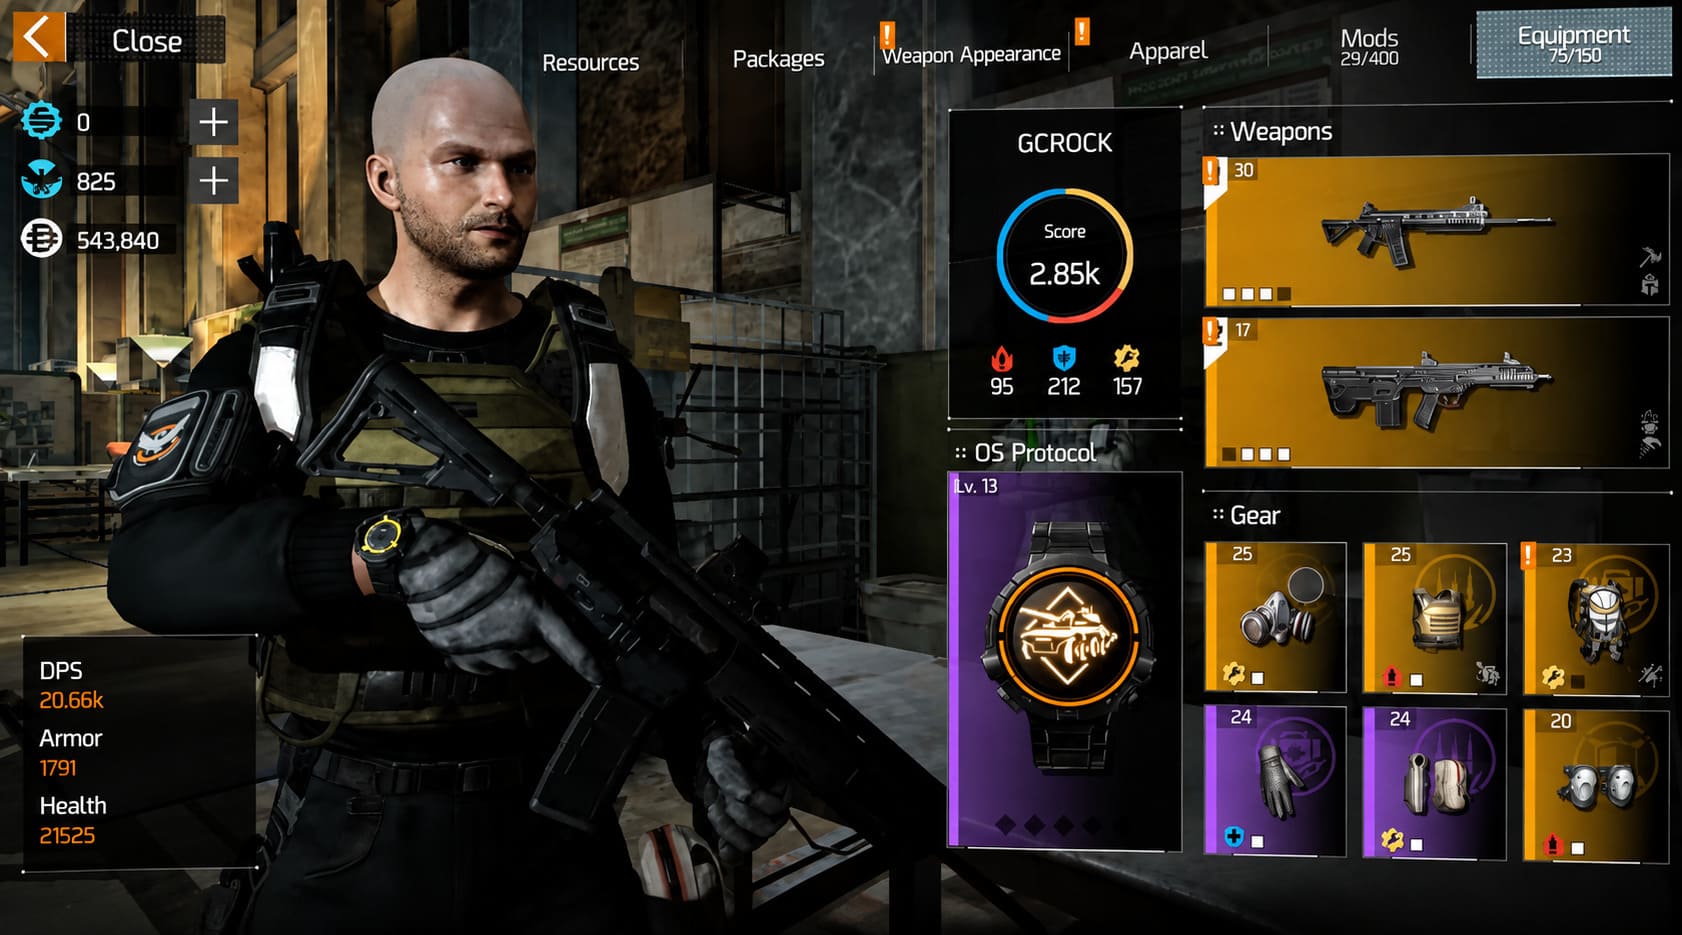
One of the biggest misconceptions I still see among newer players is believing that every higher-rarity armor piece automatically represents an upgrade. In reality, two pieces with the same rarity can perform dramatically differently depending on their attributes.
A well-rolled Epic item can easily outperform a Legendary piece filled with stats that don’t support your build. That’s why evaluating gear goes far beyond simply looking at its rarity or Gear Score.
Every armor piece contributes to your build through two primary layers.
| Attribute Type | Role |
|---|---|
| Core Attributes | Define your main specialization by increasing weapon damage, armor, or skill effectiveness. |
| Minor Attributes | Provide specialized bonuses such as Critical Hit Chance, Critical Hit Damage, Skill Haste, Hazard Protection, and various utility effects. |
Understanding how these two systems work together makes building powerful endgame loadouts significantly easier.
Decide Your Build Before Recalibrating
Before spending crafting materials, decide exactly what role your character is meant to fulfill. One mistake I made early on was trying to create a hybrid build capable of doing everything. It looked good on paper, but in practice it ended up being mediocre across every category.
Successful builds generally fall into three clear archetypes:
- Weapon DPS
- Tank & Survivability
- Skill Specialist
Personally, I spend most of my time playing weapon-focused builds because I enjoy aggressive gameplay and faster mission clears. That said, each specialization has situations where it shines, especially in coordinated group content.
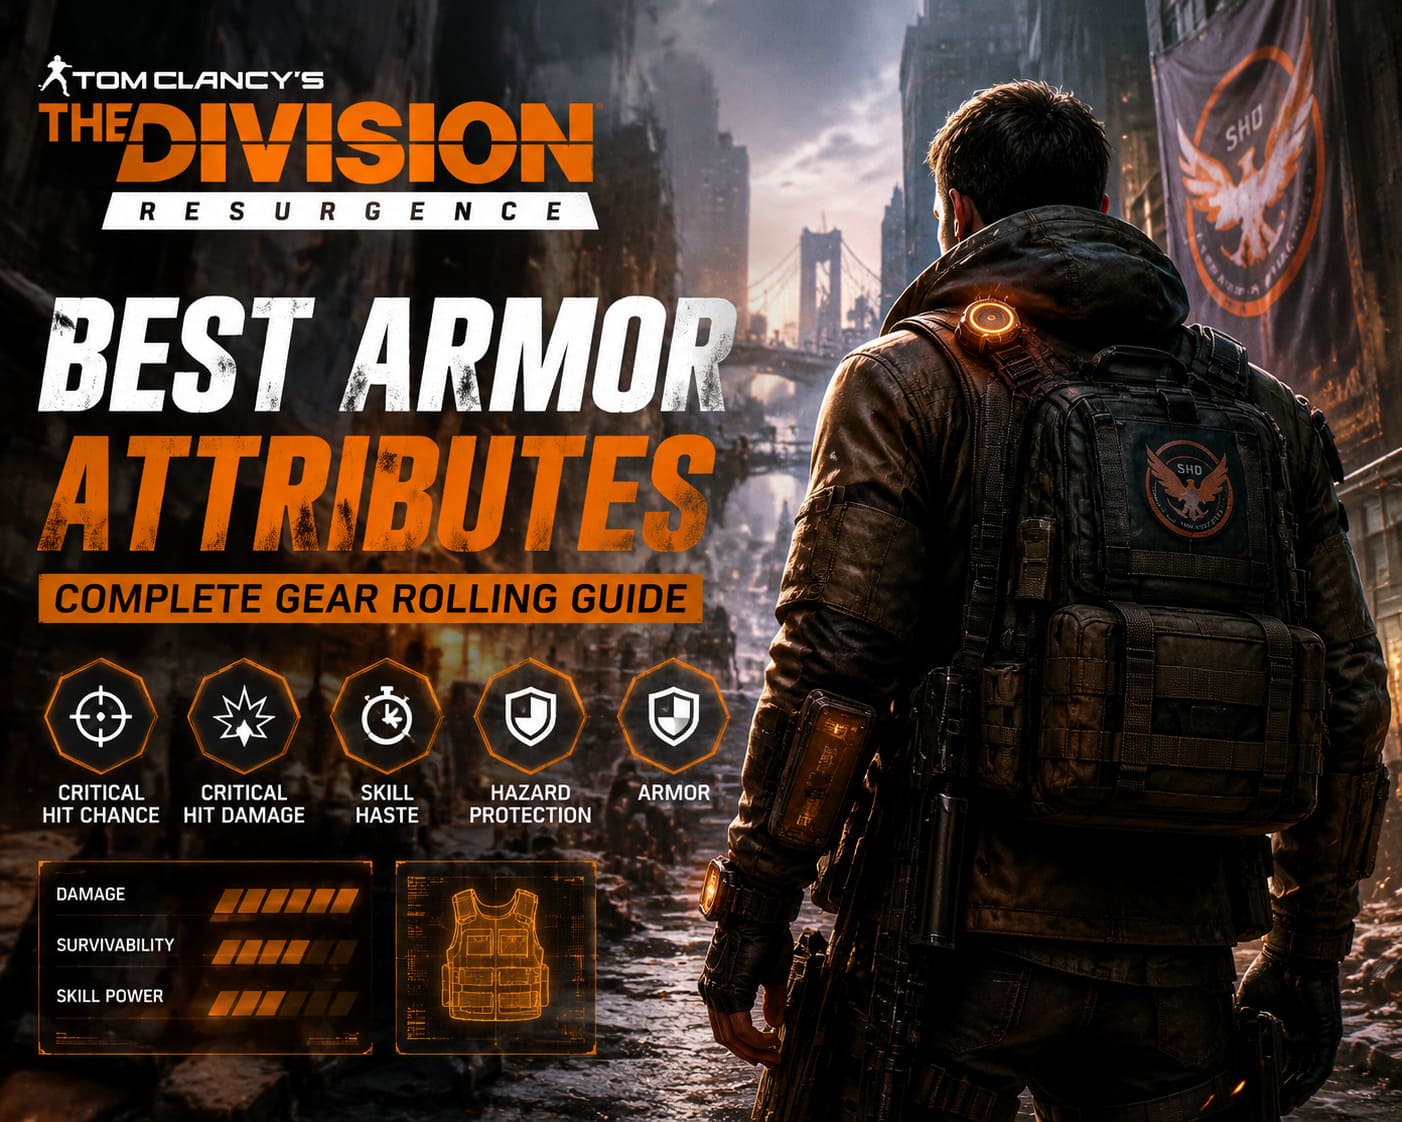
The Armor Attributes I Prioritize Across Almost Every Build
While every build has unique requirements, there are several secondary attributes that consistently provide outstanding value regardless of your preferred playstyle.
Critical Hit Chance
Critical hits remain one of the strongest damage mechanics in The Division Resurgence. Increasing your Critical Hit Chance dramatically improves your overall consistency during firefights, especially when using assault rifles, SMGs, or light machine guns.
I generally recommend increasing this stat until your build reaches a comfortable level of consistency. Once you approach the effective cap, additional investment usually becomes less valuable than focusing on Critical Hit Damage instead.
Critical Hit Damage
If I could recommend only one offensive secondary attribute, this would probably be it.
Once your critical hits occur frequently enough, boosting the damage of every critical shot produces noticeable improvements against standard enemies, elites, and bosses alike. Every percentage point contributes to faster time-to-kill, which becomes increasingly valuable during Heroic missions.
Skill Haste
Even players who don’t rely entirely on skills should never underestimate Skill Haste. Faster cooldowns mean healing abilities, drones, turrets, and defensive gadgets become available more often during difficult encounters.
I’ve had countless situations where simply recovering a support skill a few seconds earlier completely changed the outcome of a fight.
Hazard Protection
This attribute often flies under the radar, but I consider it one of the most underrated defensive stats in the game.
Status effects like burn, shock, disruption, and blind can completely shut down your momentum during combat. Investing in Hazard Protection significantly improves your ability to keep fighting instead of constantly recovering from crowd-control effects.
My Preferred Stats for Weapon DPS Builds
Most of my playtime has been dedicated to offensive builds, so I’ve spent plenty of hours experimenting with different stat combinations.
If your primary goal is maximizing weapon damage, this is the order I personally prioritize.
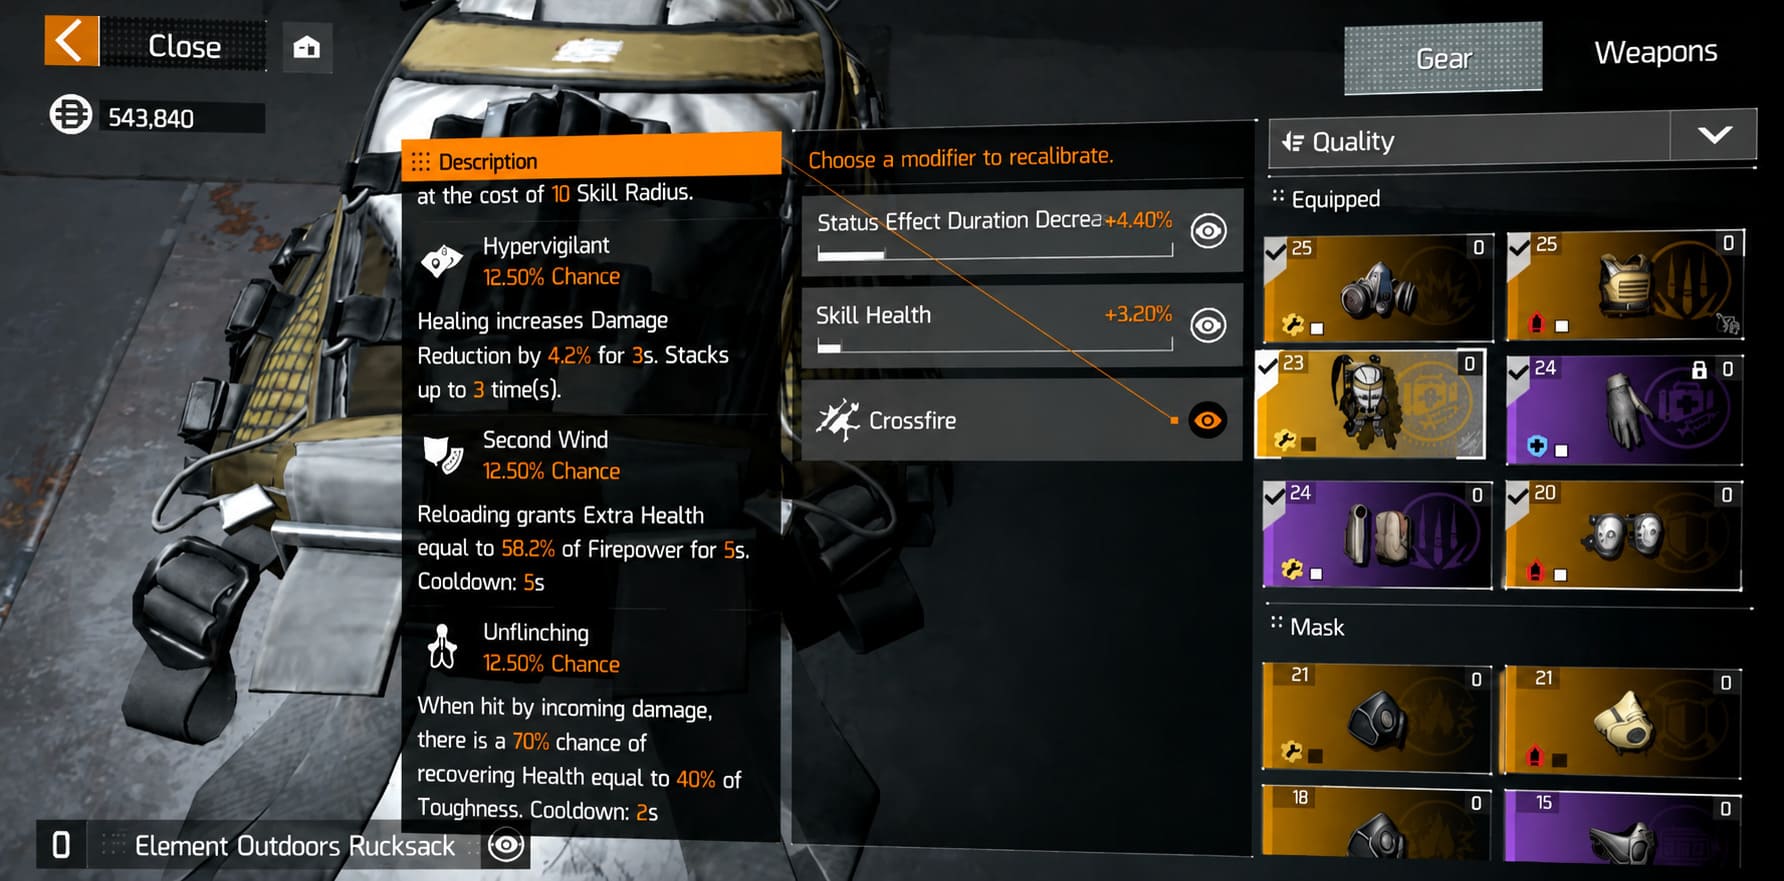
| Priority | Recommended Attribute | Reason |
|---|---|---|
| 1 | Critical Hit Damage | Provides the largest increase to sustained weapon damage. |
| 2 | Critical Hit Chance | Improves consistency across every firefight. |
| 3 | Weapon Damage Bonuses | Further increases your overall DPS output. |
I also prefer chest and backpack talents that reward aggressive gameplay by continuously increasing weapon damage throughout extended engagements.
One lesson I’ve learned is that pure offense isn’t always the smartest choice. If you’re constantly getting eliminated before finishing fights, sacrificing a single offensive core attribute for additional armor can actually improve your overall performance.
Building a Reliable Tank
Tank builds aren’t designed to make you invincible. Their purpose is to absorb incoming damage, control enemy attention, and provide stability for the rest of your squad.
When optimizing defensive gear, these are the attributes I usually prioritize.
- Armor
- Hazard Protection
- Protection Against Elite Enemies
- Armor Recovery Effects
Higher armor naturally improves survivability, but utility-focused defensive stats often provide even greater value during lengthy firefights. I’ve completed numerous difficult encounters thanks to strong Hazard Protection preventing enemies from locking me down with status effects.
Skill Builds Continue Getting Stronger
Players who enjoy using gadgets instead of relying entirely on weapons have plenty of powerful options available.
In my experience, successful skill builds should focus on maintaining high ability uptime before chasing maximum damage numbers.
| Build Type | Primary Attribute | Secondary Attribute | Third Priority |
|---|---|---|---|
| Offensive Skills | Skill Damage | Skill Haste | Status Effects |
| Healing Support | Repair Skills | Skill Haste | Skill Duration |
| Crowd Control | Status Effects | Skill Haste | Skill Damage |
One thing I’ve consistently noticed is that reducing cooldowns frequently produces more total damage over an entire mission than stacking Skill Damage alone. More deployments almost always translate into greater overall value.
Recommended Priorities for Every Armor Slot
Mask
I usually treat the mask as an offensive slot. Critical Hit Chance and Critical Hit Damage fit naturally here, especially for weapon-focused builds.
Chest Piece
The chest piece is arguably the most influential armor slot in the game because powerful talents can dramatically change how your build performs. Whenever I find a chest piece with a strong talent and two useful attributes, I almost always keep it for recalibration.
Backpack
Backpack talents often define your effectiveness during extended engagements. Rather than chasing perfect numbers immediately, I focus on securing the right talent first before optimizing the remaining attributes.
Gloves
Weapon-focused characters should prioritize offensive bonuses here, while support builds benefit more from Repair Skills or Skill Damage depending on their role.
Holster
I typically use the holster to balance my overall stat distribution. It’s often the easiest place to fine-tune Critical Hit statistics without disrupting the rest of the build.
Kneepads
Kneepads are an excellent slot for correcting weaknesses. If survivability feels lacking, defensive stats work well. If your build already feels durable, adding more offensive bonuses usually provides the greatest benefit.
My Personal Recalibration Strategy
After wasting an embarrassing amount of crafting resources early on, I completely changed the way I approach recalibration.
The biggest lesson I learned is simple: never try to rescue a completely bad armor piece.
Instead, I only invest materials into gear that already has most of the attributes I actually want.
Before recalibrating, I usually ask myself four questions.
- Does the item already have a useful talent?
- Does it naturally include at least two desirable attributes?
- Do I only need to replace a single weak stat?
- Does it perfectly fit the build I’m currently using?
If the answer to all four questions is yes, then it’s probably worth spending recalibration materials. Otherwise, I simply continue farming for a better drop.
The Division Resurgence Classified Ops Pass Guide: Rewards, Phases, and Fast Leveling Tips
Common Mistakes I Still See Players Make
Even experienced players occasionally repeat the same optimization errors.
Stacking too much Critical Hit Chance. Once your build reaches a healthy level of consistency, investing further often produces smaller gains than increasing Critical Hit Damage.
Ignoring defensive utility. Huge damage numbers look impressive until you’re constantly waiting for teammates to revive you.
Trying to build everything at once. Hybrid builds may sound appealing, but specializing almost always produces stronger results.
Recalibrating every new item. Materials disappear surprisingly fast. Save them for gear that already has excellent foundations.
How to Get Scorpio Exotic Shotgun in The Division Resurgence: Farming Guide (2026)
Final Thoughts
One of the reasons I’ve continued enjoying The Division Resurgence is because progression feels rewarding when you understand how its gear systems work. Optimizing armor isn’t simply about chasing bigger numbers—it’s about creating synergy between every piece of equipment you wear.
If your goal is maximum weapon damage, prioritize Critical Hit attributes and offensive talents. Tank players should invest heavily in armor and Hazard Protection, while skill specialists will get the most value from Skill Haste and specialized ability bonuses.
Perfect builds don’t appear overnight. They develop gradually as you collect stronger gear, learn which attributes genuinely matter, and become more selective about where you spend your recalibration materials. In my experience, that’s exactly what makes The Division Resurgence’s endgame so satisfying. Every perfectly rolled armor piece feels like meaningful progress, and every improvement brings your agent one step closer to dominating the game’s toughest challenges.